Hi all! Its been a long time since I’ve posted, with lots of exciting times in between. Chris and I spent almost every weekend for the last couple months I was in NY up in New Paltz climbing, which was super fun and great quality time together! We had some wonderful family time in NY and Philly, went to Erin and Dan’s beautiful farm wedding in PA, and I had an amazing weekend in Durham, NC with Natalie and lots of other spunky, fantastic women to celebrate her upcoming wedding. And of course I graduated med school, packed up my belonging and headed West!
I’ve now been in Seattle for about a month and I gotta say, life is pretty good! Its been beautiful and sunny almost every day, bike commuting is the bomb, I’m loving my new place and new job, and perhaps most importantly, I’ve managed to make some pretty great new lady friends! Jenell, who I spent 6 weeks with in Peru and who lives down the street from me, suggested a food exchange during our first week of residency, which was a great idea for our busy schedules! Six of us got together for dinner and each brought 5 portions of something we made to share and freeze. So now we each have 6 delicious meals in our freezers to get us through those long days when we don’t have time or energy to cook. I had been wanting to make kim chi and had a big pile of flour tortillas in my freezer, so I went with Korean tacos. Not the fastest, but super easy!

Climbing at the Gunks

Paddle boarding in Portage Bay

Salmon migrating upstream through the Ballard fish ladder to spawn – amazing to watch a piece of this cycle of life!
Ingredients:
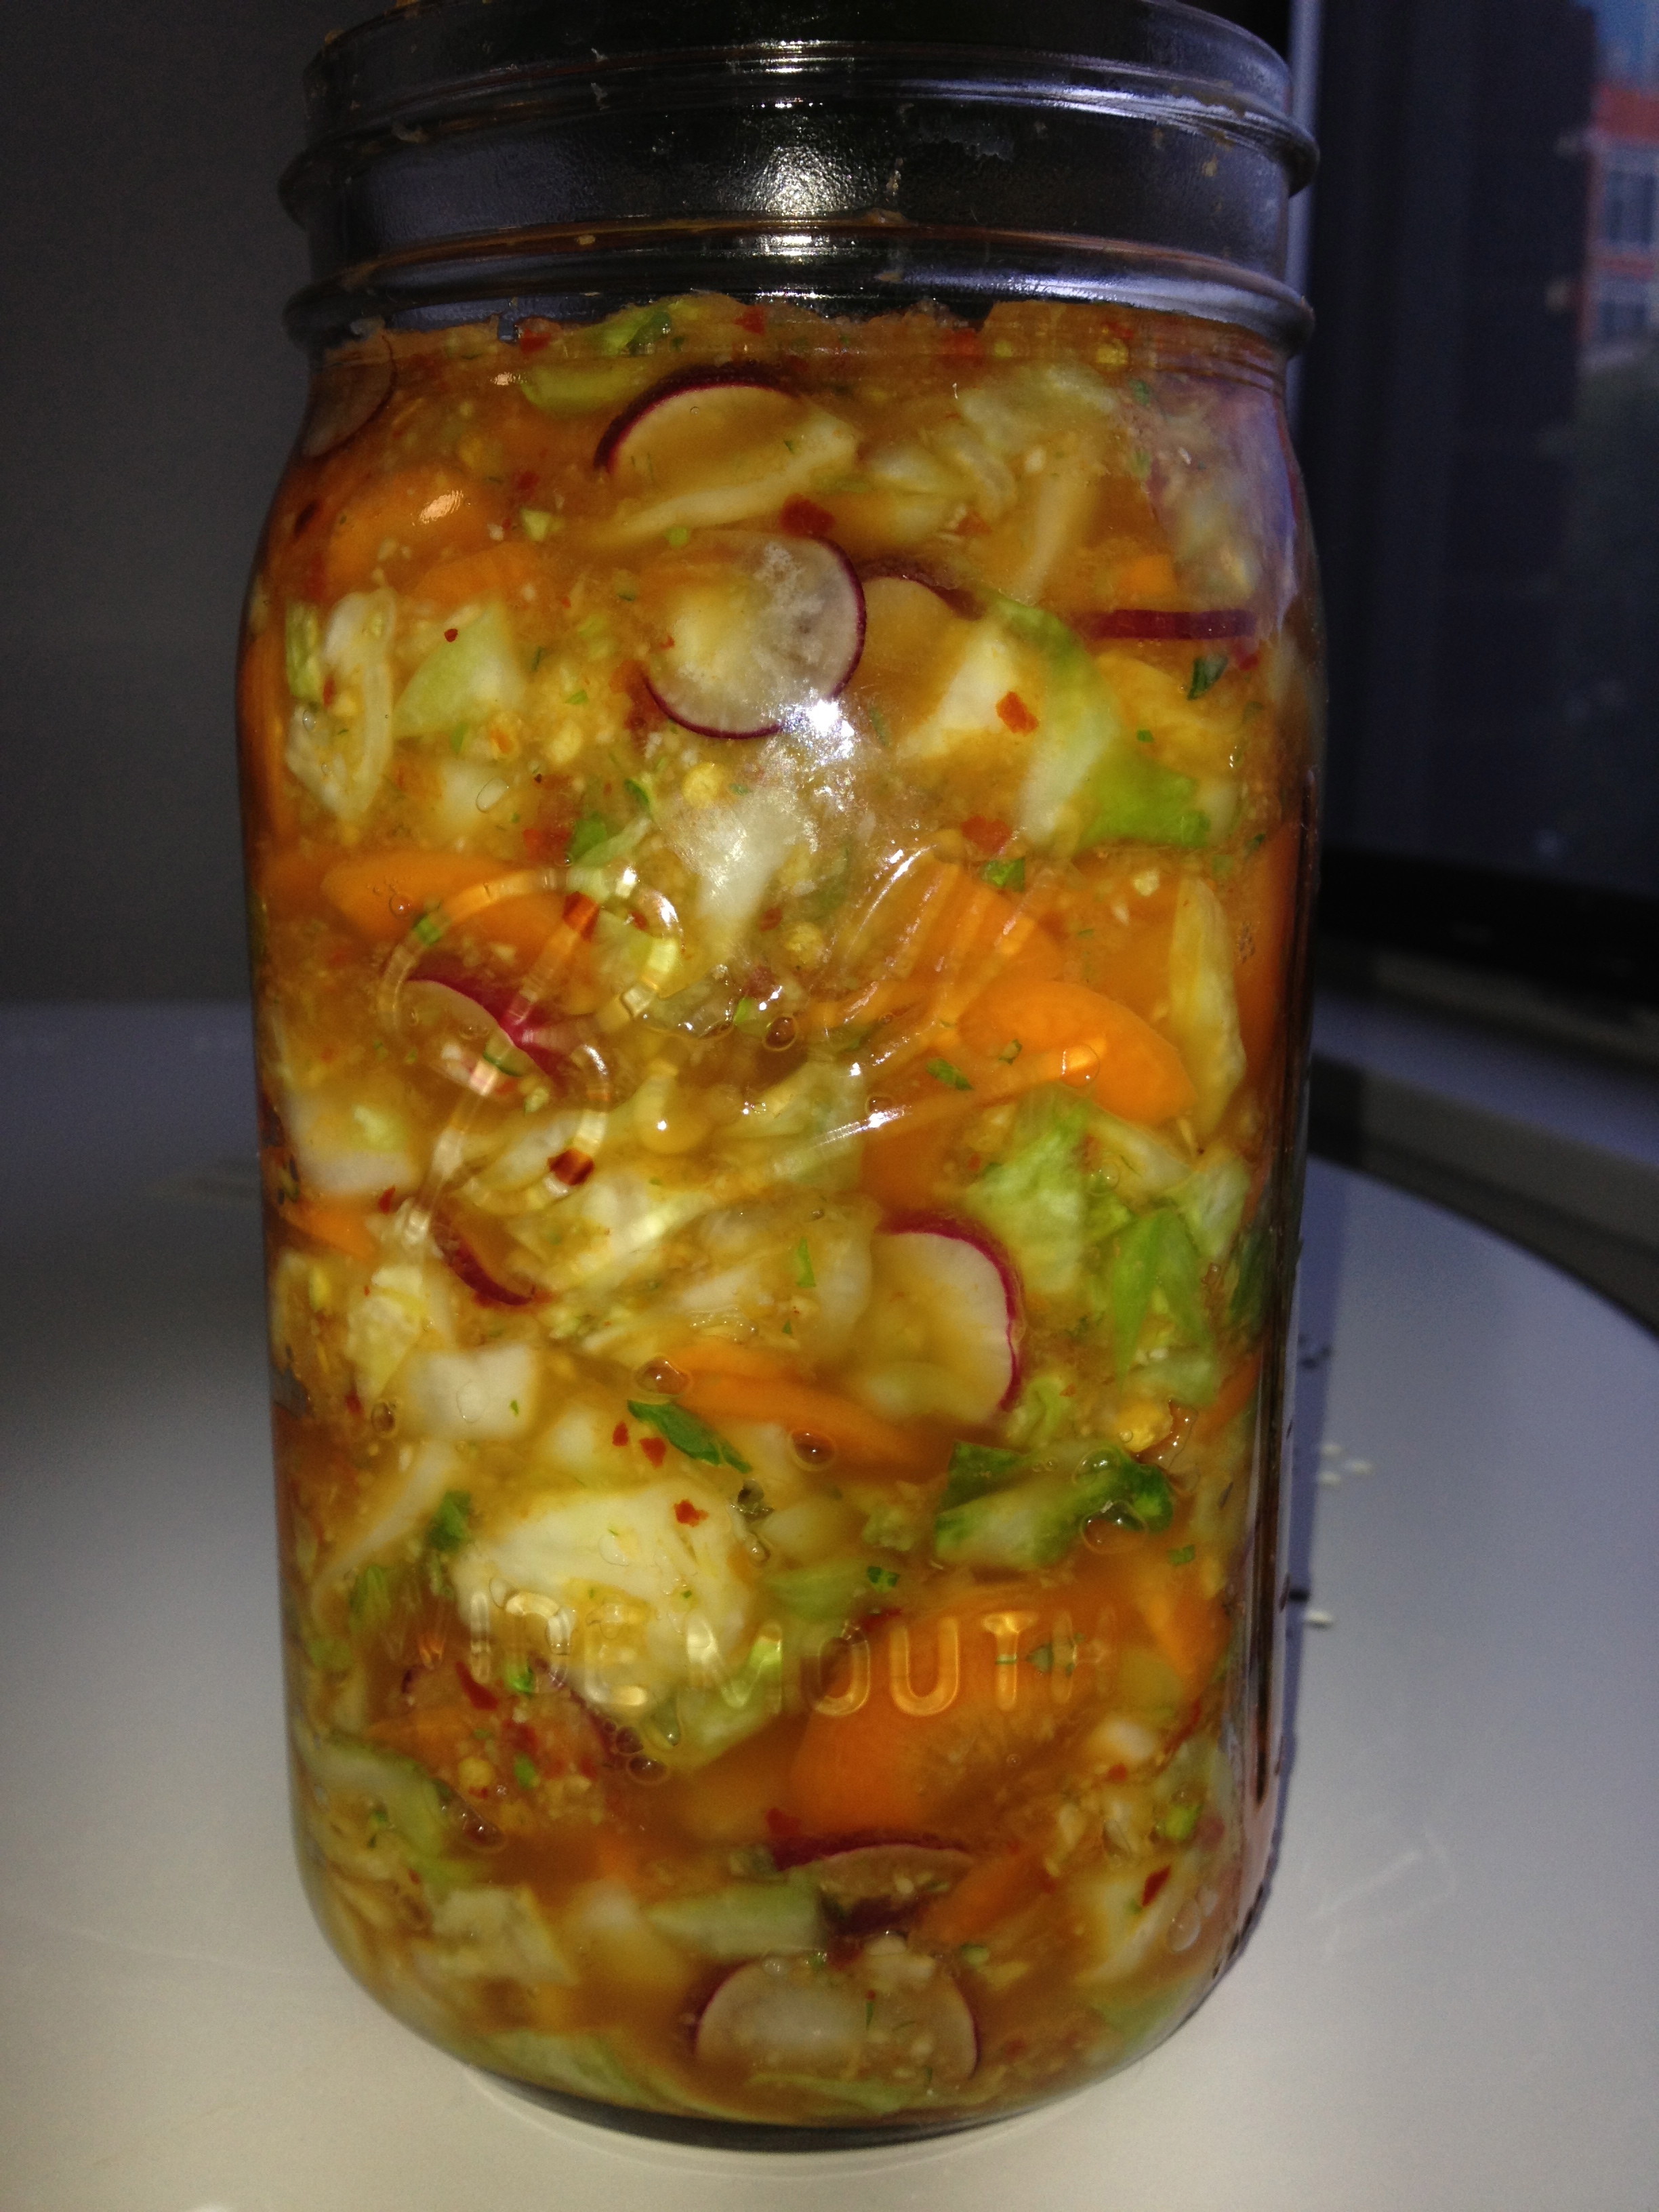
First, for the Kim Chi (thanks to Erin Bingham for this part!):
- ½ large cabbage (~1lb)
- 1 daikon radish or a few red radishes
- 2 carrots
- 1 onion or leeks or scallions or shallots
- 3 cloves garlic
- 3-4 hot red chillies (i used few spoonfuls of red pepper flakes instead)
- 3 T fresh grated ginger root
Then, the tofu:
- 2 lb extra firm tofu
- Soy Sauce
- Rice vinegar
- Sesame oil
The beans and rice part:
- 2 poblanos or regular green peppers
- 1 yellow onion
- 1 16 oz can black beans, or 1.5 cups cooked beans
- 2 C cooked brown jasmin rice (or other grain)
- Olive oil
The sauce:
- 2 kiwis
- 1 large apple
- 1 large pear
- 3 cloves garlic
Other things
- 1 more onion
- 2 limes
- pepper
- Flour tortillas (I used 10 medium-sized ones for this amt of food)
Directions:
The kim chi needs to be made at least 4 or 5 days, but preferably a week, ahead of time. Mix 4 cups water and 4 tbsp salt in a large bowl. Chop or shred in a food processor the cabbage, carrots, and radishes, then put it all in the water with a plate or something to keep it submerged. Leave it for at least 4 hours.
Now make the paste: Put the onion, garlic, ginger, and chiles (or pepper flakes) into a food processor and let it go until fairly smooth.
Drain and reserve the brine from the veggies. Mix the past in well with the veggies, then pack it down into a jar. The liquid should just cover everything. If there’s not quite enough, add back some of the brining liquid. Cover and let it ferment in a warm place for at least 4-5 days. Once ripe (you can taste a little every day), move it to the fridge.
Also marinate the onions a day or two in advance: slice 1 onion and put it in a bag with the juice of 2 limes and some pepper. Add a bit of water so that the liquid just covers the lime slices.
Now for the tofu: cut the tofu into ~1cm thick squares. Heat a non-stick skillet with sesame oil, then brown the tofu squares on each side. When you put the tofu in, add soy sauce and rice vinegar to taste. I probably used a total of 2 tablespoons of rice vinegar and 4 of soy sauce, and I did the tofu in a couple batches so that I could lay the squares in 1 layer and flip all at once.

To make the sauce, throw the garlic, pear, kiwis and apple into the food processor and sauce-ify it. Then put it in a skillet and heat it all up for 10-15 min, allowing some of the liquid to evaporate.

Rice and beans: chop the onion and peppers and sautee them in olive oil until soft. Add the black beans and cook for another 5 minutes. Then using a spatula, smoosh the beans. Don’t go crazy, just smoosh out whatever stress you might be feeling at the moment, and move on! Then add the rice and mix it all in together.
Now its time to assemble the burritos! I personally warmed the tortillas in the oven at about 250 for a few minutes, but this is not necessary. This step is pretty self explanatory: spread some kim chi on each burrito, add equal portions of tofu, rice and beans, marinated onions, and fruity sauce to each burrito, wrap up, and you’re done!


